If you are a Windows user, it has become remarkably easy to work in Arabic since the introduction of Windows 7. Mac users and those with earlier versions of Windows will have to follow a few more steps, which we won’t cover here.
Enabling Arabic support in Windows 7/ Microsoft Office:
Step 1: Get an Arabic keyboard. Here’s one we recommend. If you prefer not to use an Arabic keyboard there are other workarounds such as Arabic keyboard stickers. Alternatively, the Arabic Google Translate interface has a convenient on-screen Arabic keyboard that you can use for making small edits and tweaks.
Step 2: Enable the Arabic keyboard layout in Windows. The instructions for doing this in Windows 7 are here. This will allow you to quickly switch between typing in English and Arabic when you are editing documents by pressing “Alt + Shift” or by using the language bar that should appear in the bottom right of your screen after you have enabled Arabic (or any other second) keyboard layout.
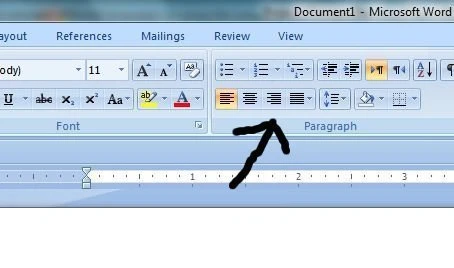
Step 3: When typing Arabic, make sure to right justify your documents when editing using Microsoft Word or other text editors by clicking the button indicated in Figure 2 (right).
Finally, if you’re ready to begin or discuss a translation project, just click here to get your free translation quote.